Words Hoard & Heath
Photography Tommy, Charles Parker and Nikita Nikitin / Pexels
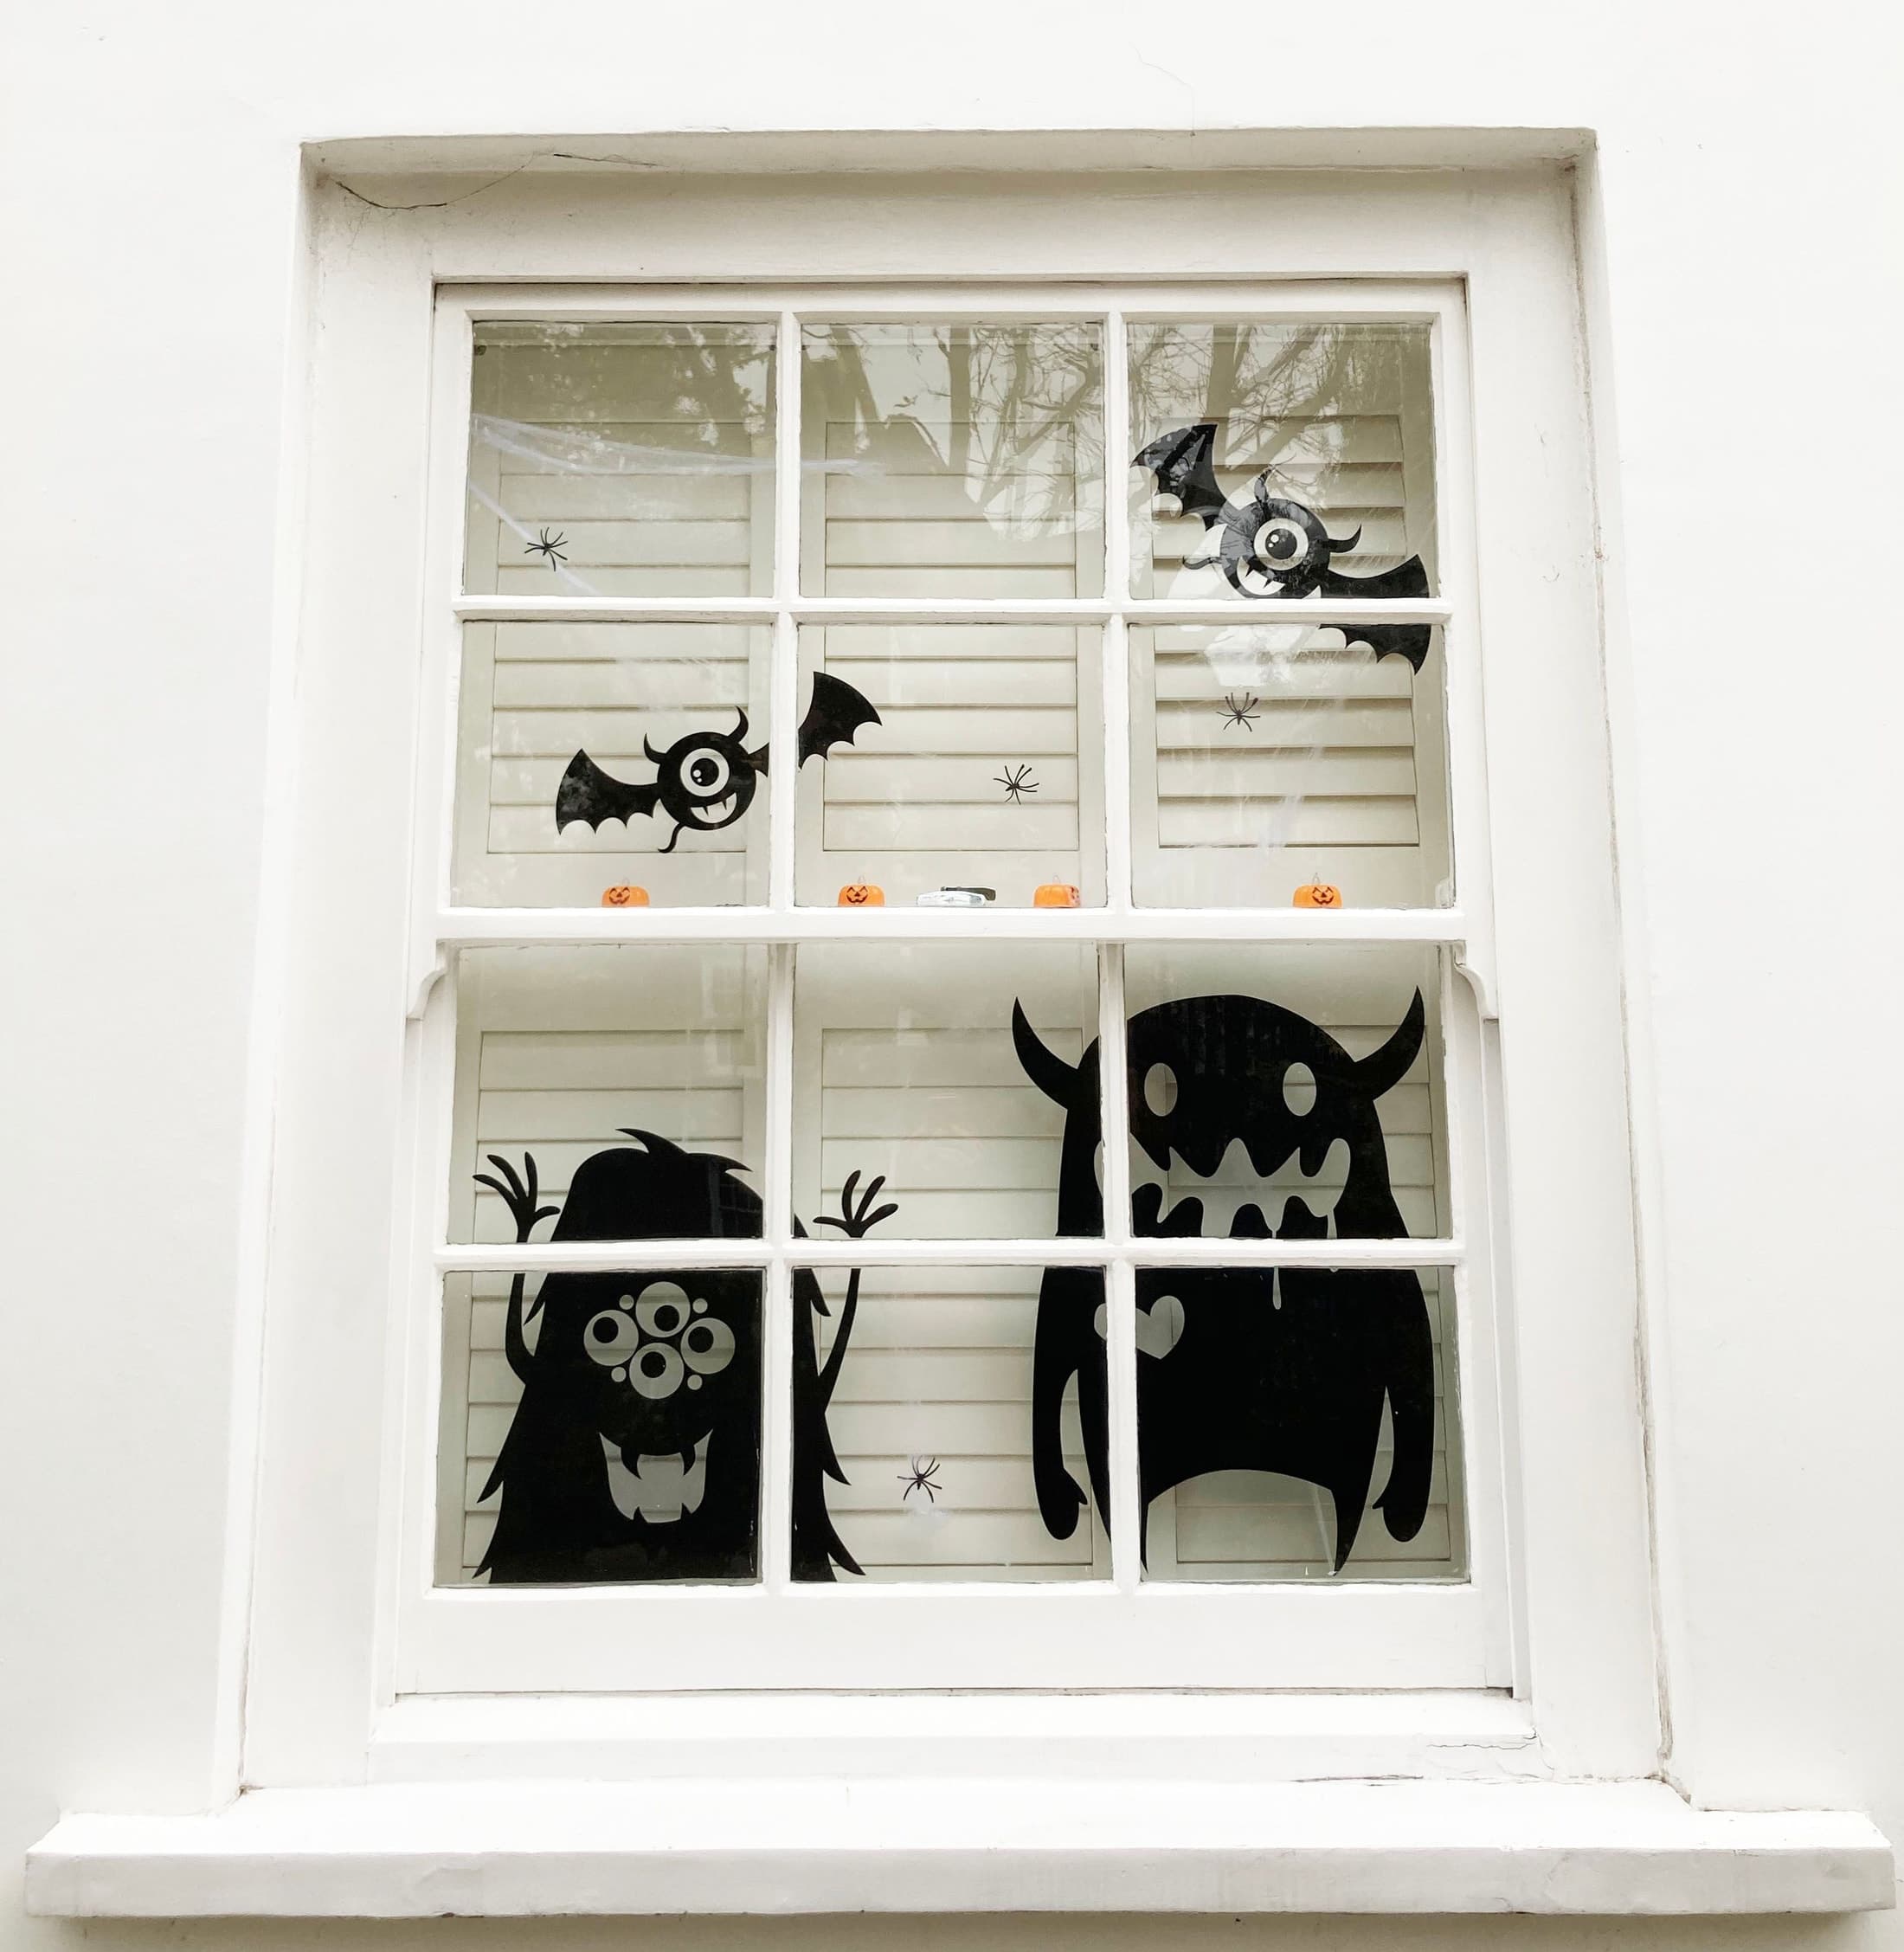
Two black monsters look out through a white-framed window. The glazing bars cut across their bodies, yet their faces remain clear against the pale slats behind them. In Tommy’s photograph, the window has become part of the drawing. A silhouette need not fit neatly inside a single pane to work.
The broad bodies can afford to lose a strip to the frame; the eyes and teeth carry the expression. Smaller spiders scattered above are quieter marks. We would start with the larger figures here and decide afterwards whether the little ones add anything. One recognisable face has more presence than a pane filled with details that disappear from the path.
Look at the divisions in your own window before choosing a shape. A tall creature can span several panes, but put the feature that makes it recognisable in clear glass. Hold the proposed shape in position while somebody looks from the usual approach to the house. A face that works close up can lose an eye behind a bar when viewed at an angle. Move it before committing to the arrangement.
Choose the background too
The pale slats in the first window give black shapes a clear background. They also close off the view into the room. Try the silhouette with your blind or curtain in its normal daytime position. If the figure only stands out with it shut, decide whether you want to keep the room that way while the decoration is up. A smaller display may leave more of the view you use each day.
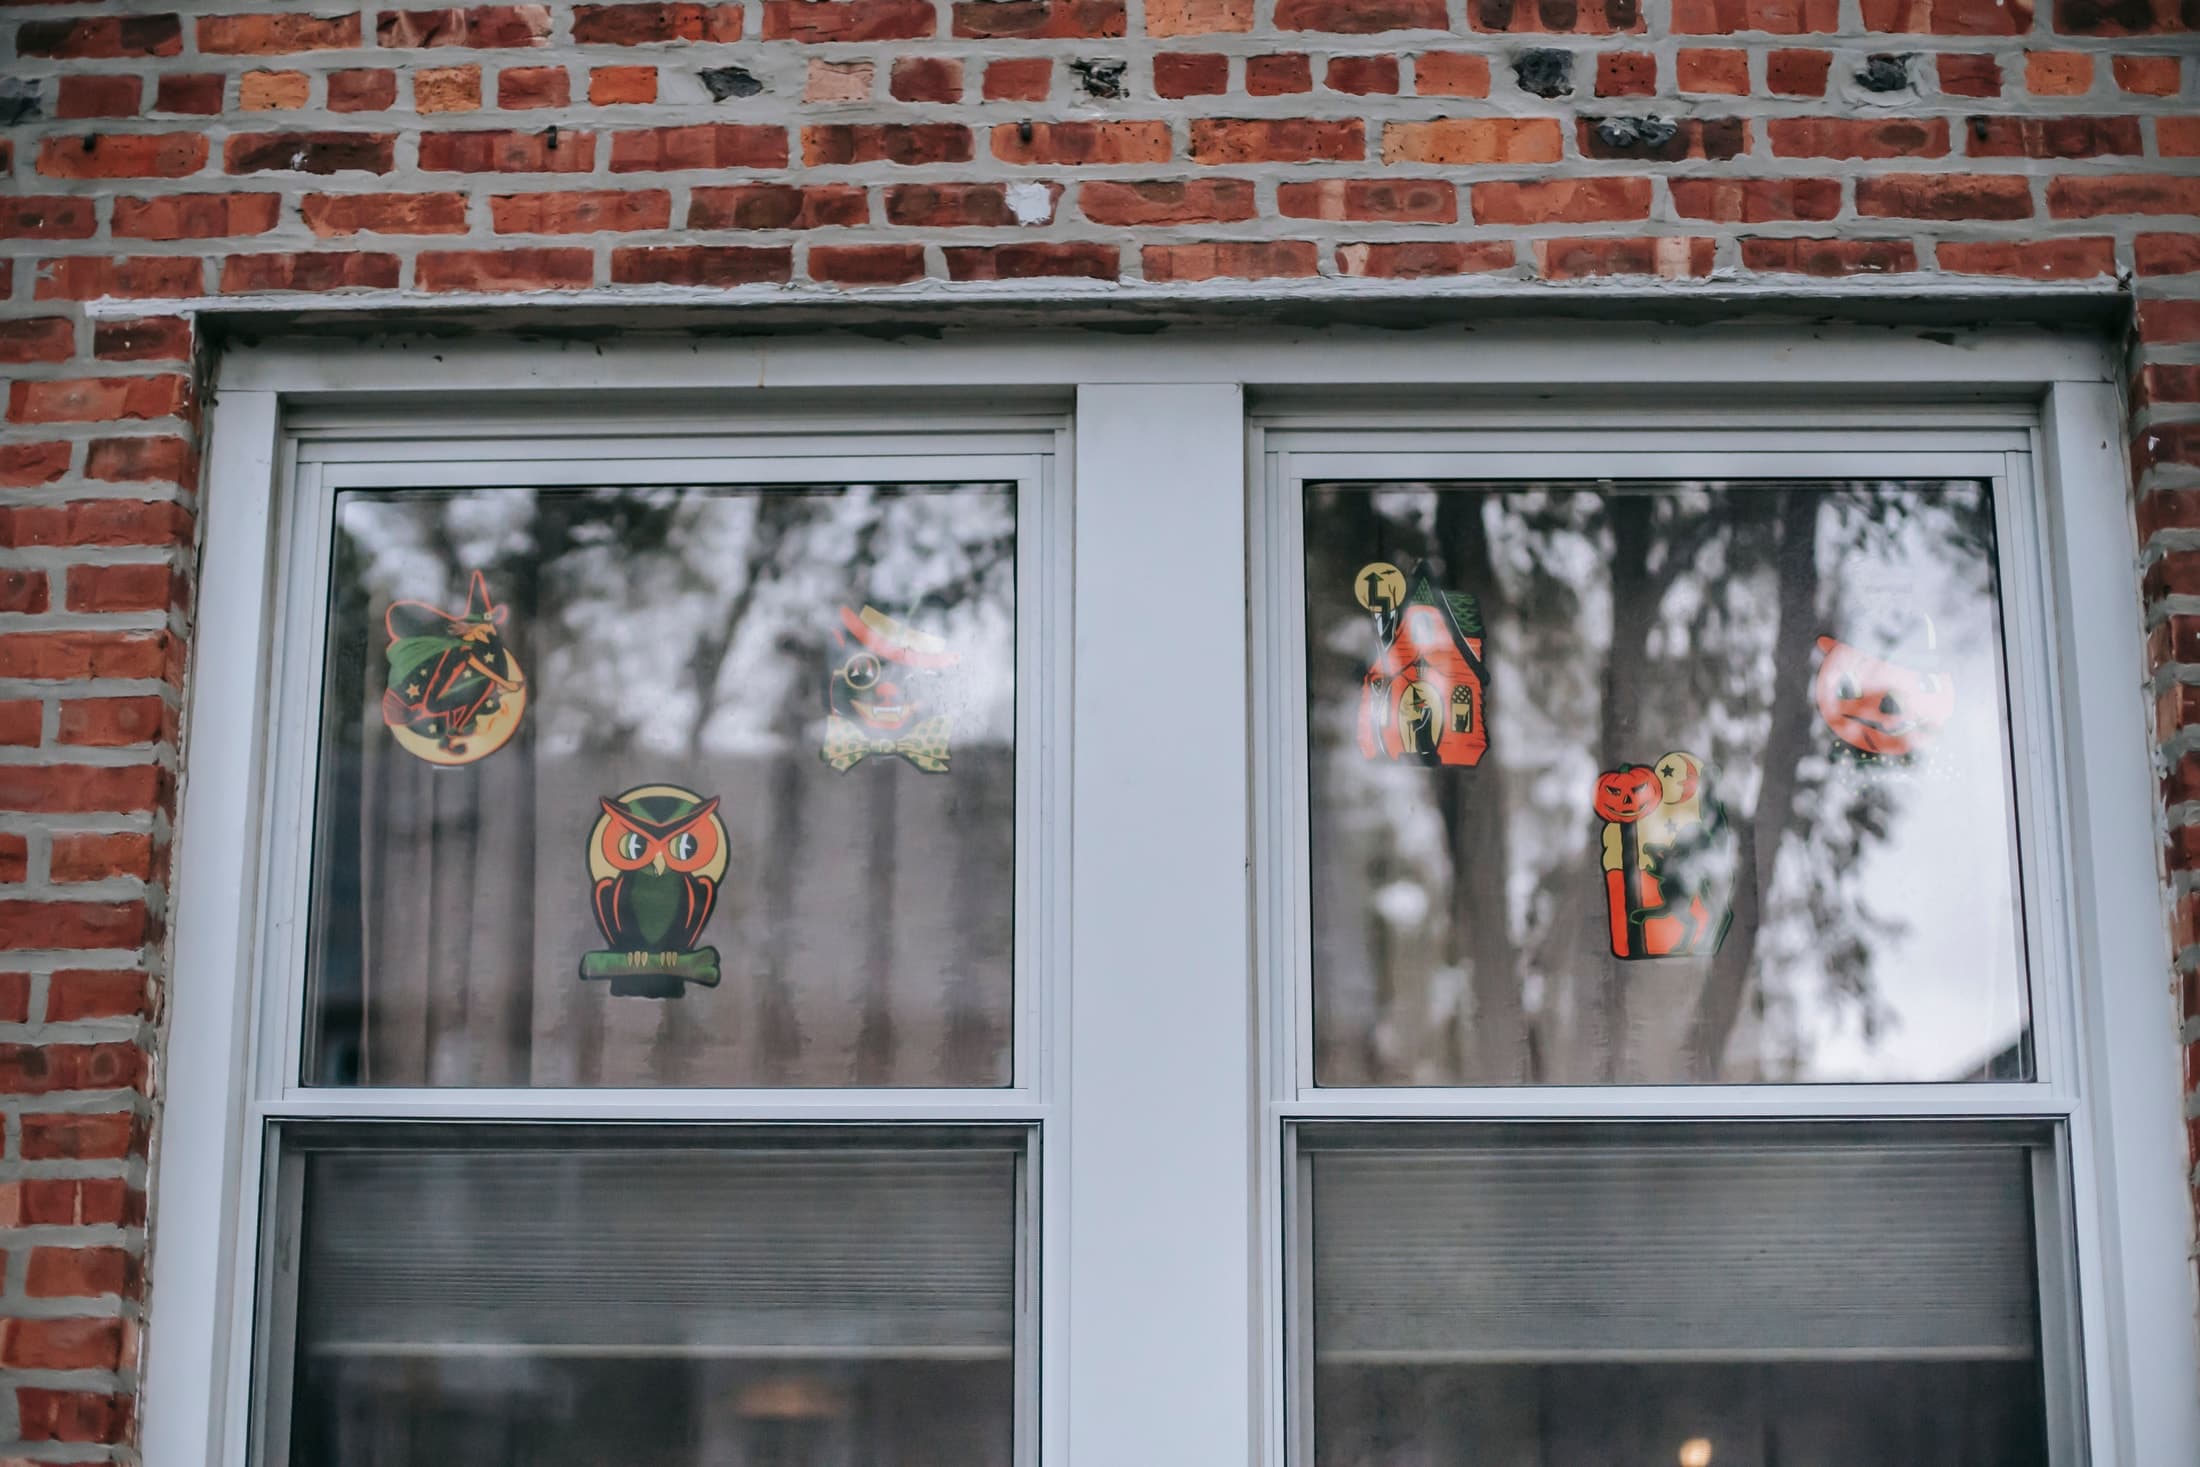
Colour offers a different sort of decoration. In Charles Parker’s photograph, an orange owl stands out on the left, while reflected trees and sky partly obscure other motifs. The designs are still cheerful at close range, but they do not all read equally well. For a window with strong reflections, we would try one bold motif before adding a collection of smaller ones. Look for the place where its face or outline remains clear from the path.
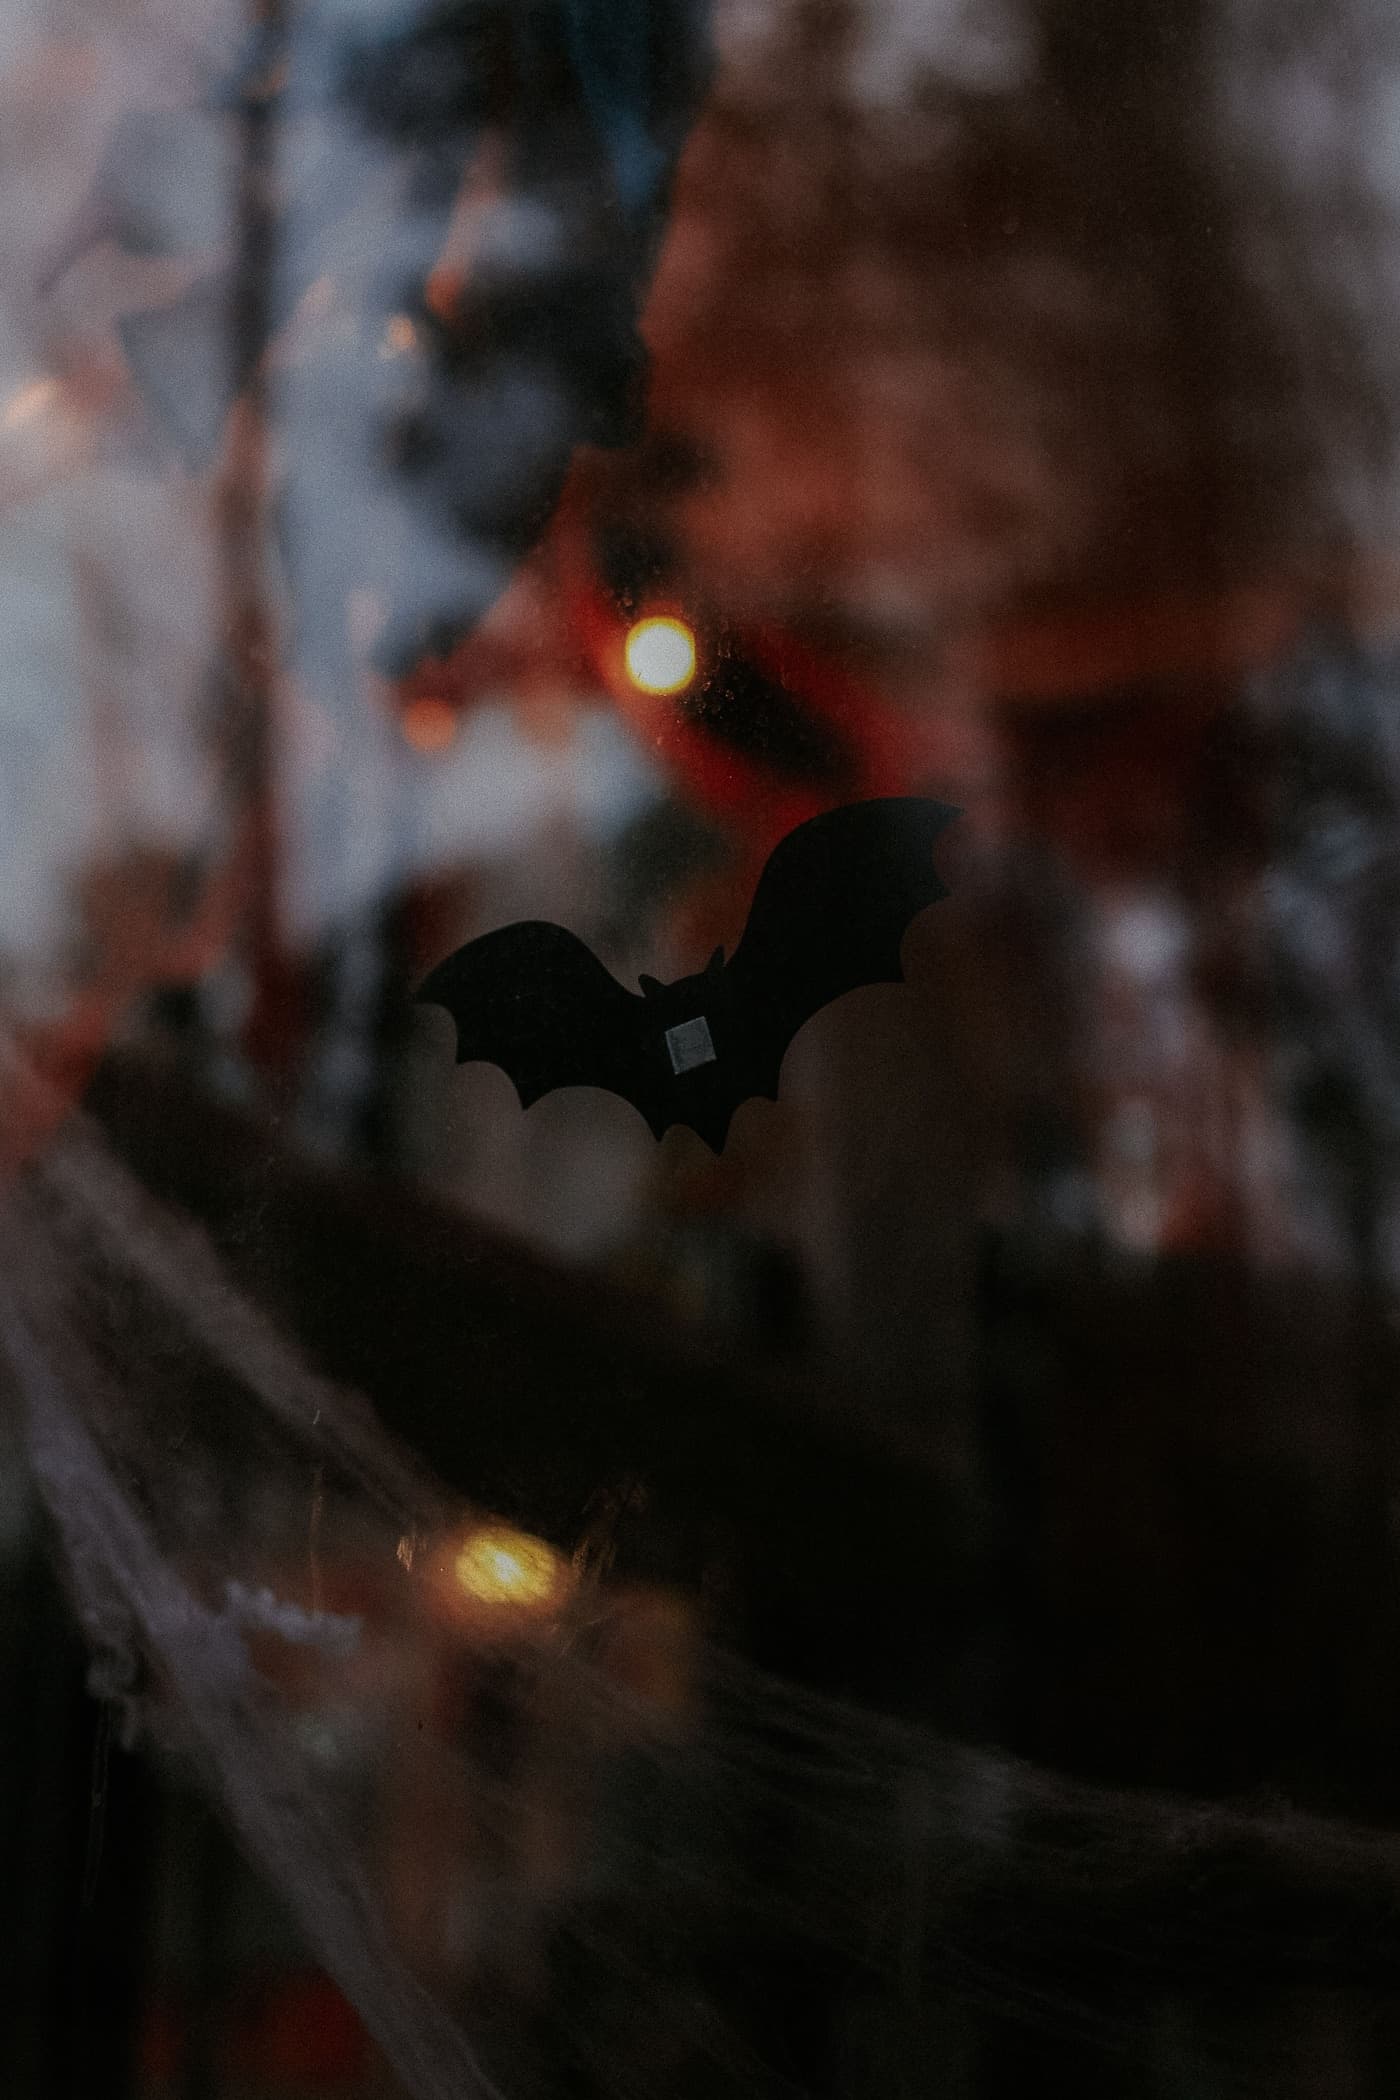
A single bat makes a quieter arrangement in Nikita Nikitin’s photograph. Its wings are readable against the soft shapes and warm-coloured light beyond the glass, although the left edge meets a darker reflection. This close view shows the outline well; it does not tell us how clearly the bat can be seen from the street. Check your own window from the approach you want it to serve, in daylight and after dark.
Before it goes on the glass
Choose the material and its attachment together, following the instructions for your surface and for removal. A photograph cannot establish which fixing was used. For a paper-backed display, tesa’s window-decoration instructions start with measuring the glass and cutting tracing paper to fit. That backing changes the view through the window as well as the contrast.
Keep handles, opening edges and ventilation clear, and leave curtains and blinds free to move. If you want a candle-like glow, London Fire Brigade recommends flameless LED candles as a safer alternative to real flames and says decorations should be kept away from naked flames.
If you would rather keep the glass clear, our guide to a Halloween windowsill looks at pumpkins and the room they need. For silhouettes, leave a gap beside the main figure before deciding to add another. A monster does not need a crowded window to make itself seen.